Level up your job application game with JobMate 💼
August 15, 2020
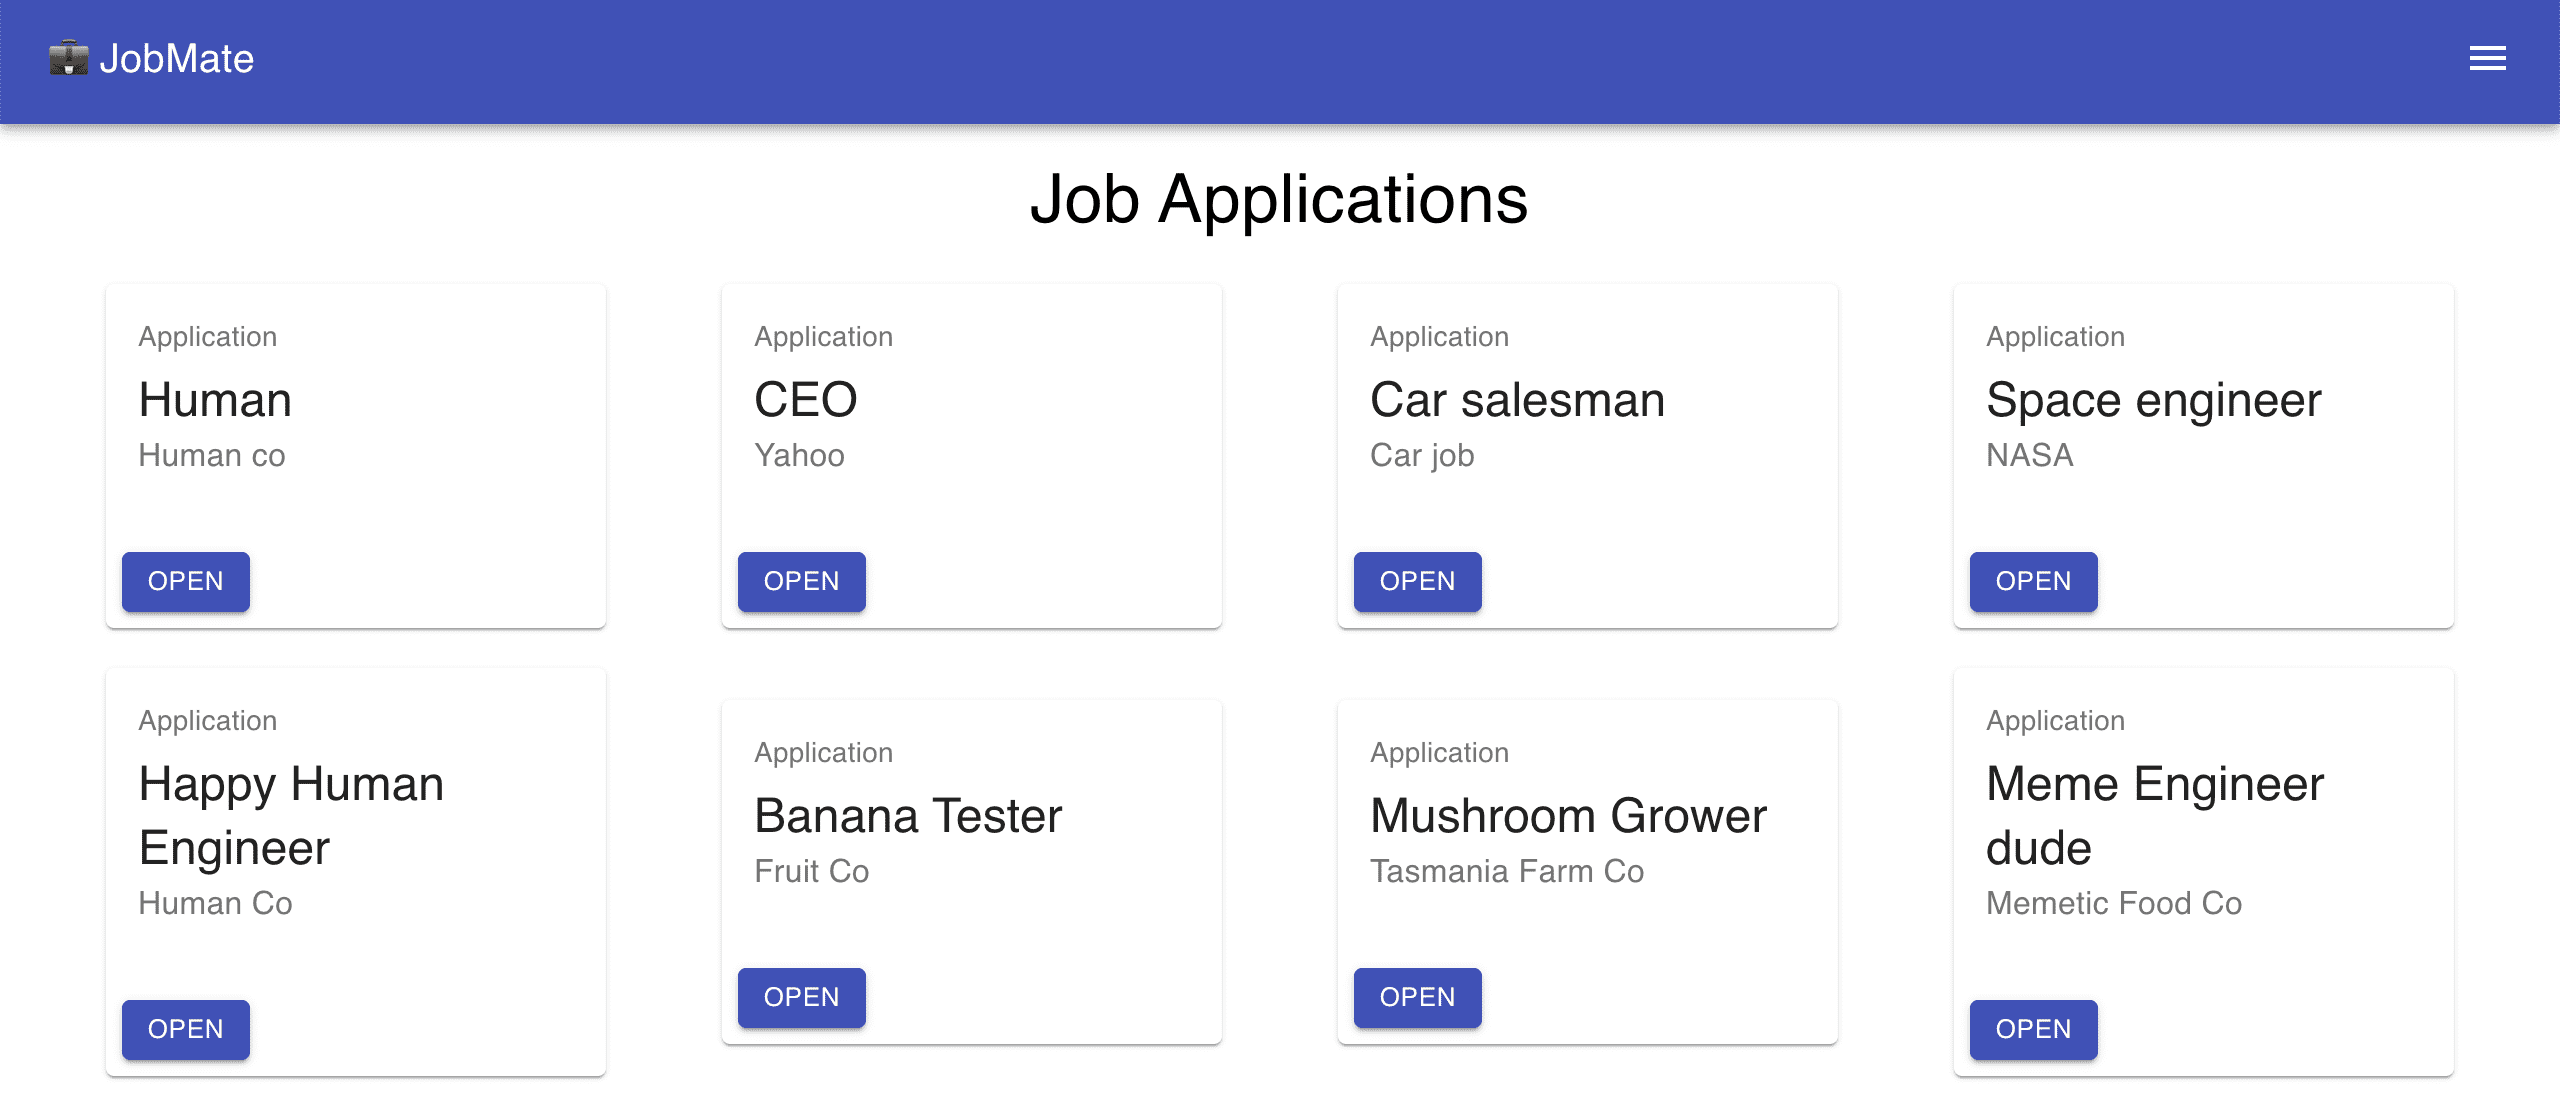
What’s JobMate?
A cloud-based tool that lets you manage and track your job applications.
Job applications have several updates: interview invitations, phonecalls with recruiters, rejection emails, etc). Instead of keeping your application details in email chains or a spreadsheet, you can organise your job application details in one place.
There’s a guide to using JobMate here (with screenshots).
Why does this exist?
My first step when jobhunting is creating a new Google sheet to track my applications:

This method has worked well, but after five applications it’s not appealing to view.
I wanted a simple home for all my jobs applications. I needed was the ability to add a new application, view existing applications, delete old applications, and add notes to each application.
The specs were the most basic CRUD requirements possible, so I decided to build my own application tracking tool.
You can try JobMate here — there’s a demo account with dummy data if you click Demo from the login page.
JobMate Techincal details
There are four technical areas to JobMate:
- Frontend application
- Backend application
- Database
- Hosting
Frontend
The frontend is built with React and Material UI as a standalone single page app (SPA).
Authentication is handled with JSON Web Tokens (JWTs). This was my first time using JWTs instead of traditional sessions/tokens. It was an awesome experience to setup JWTs and see them in action.
The frontend code is public and can be viewed on GitHub here.
Backend
The backend is built with Node.js using Express.js as the server framework.
Since the frontend is a SPA, the backend is a collection of endpoints returning JSON data:
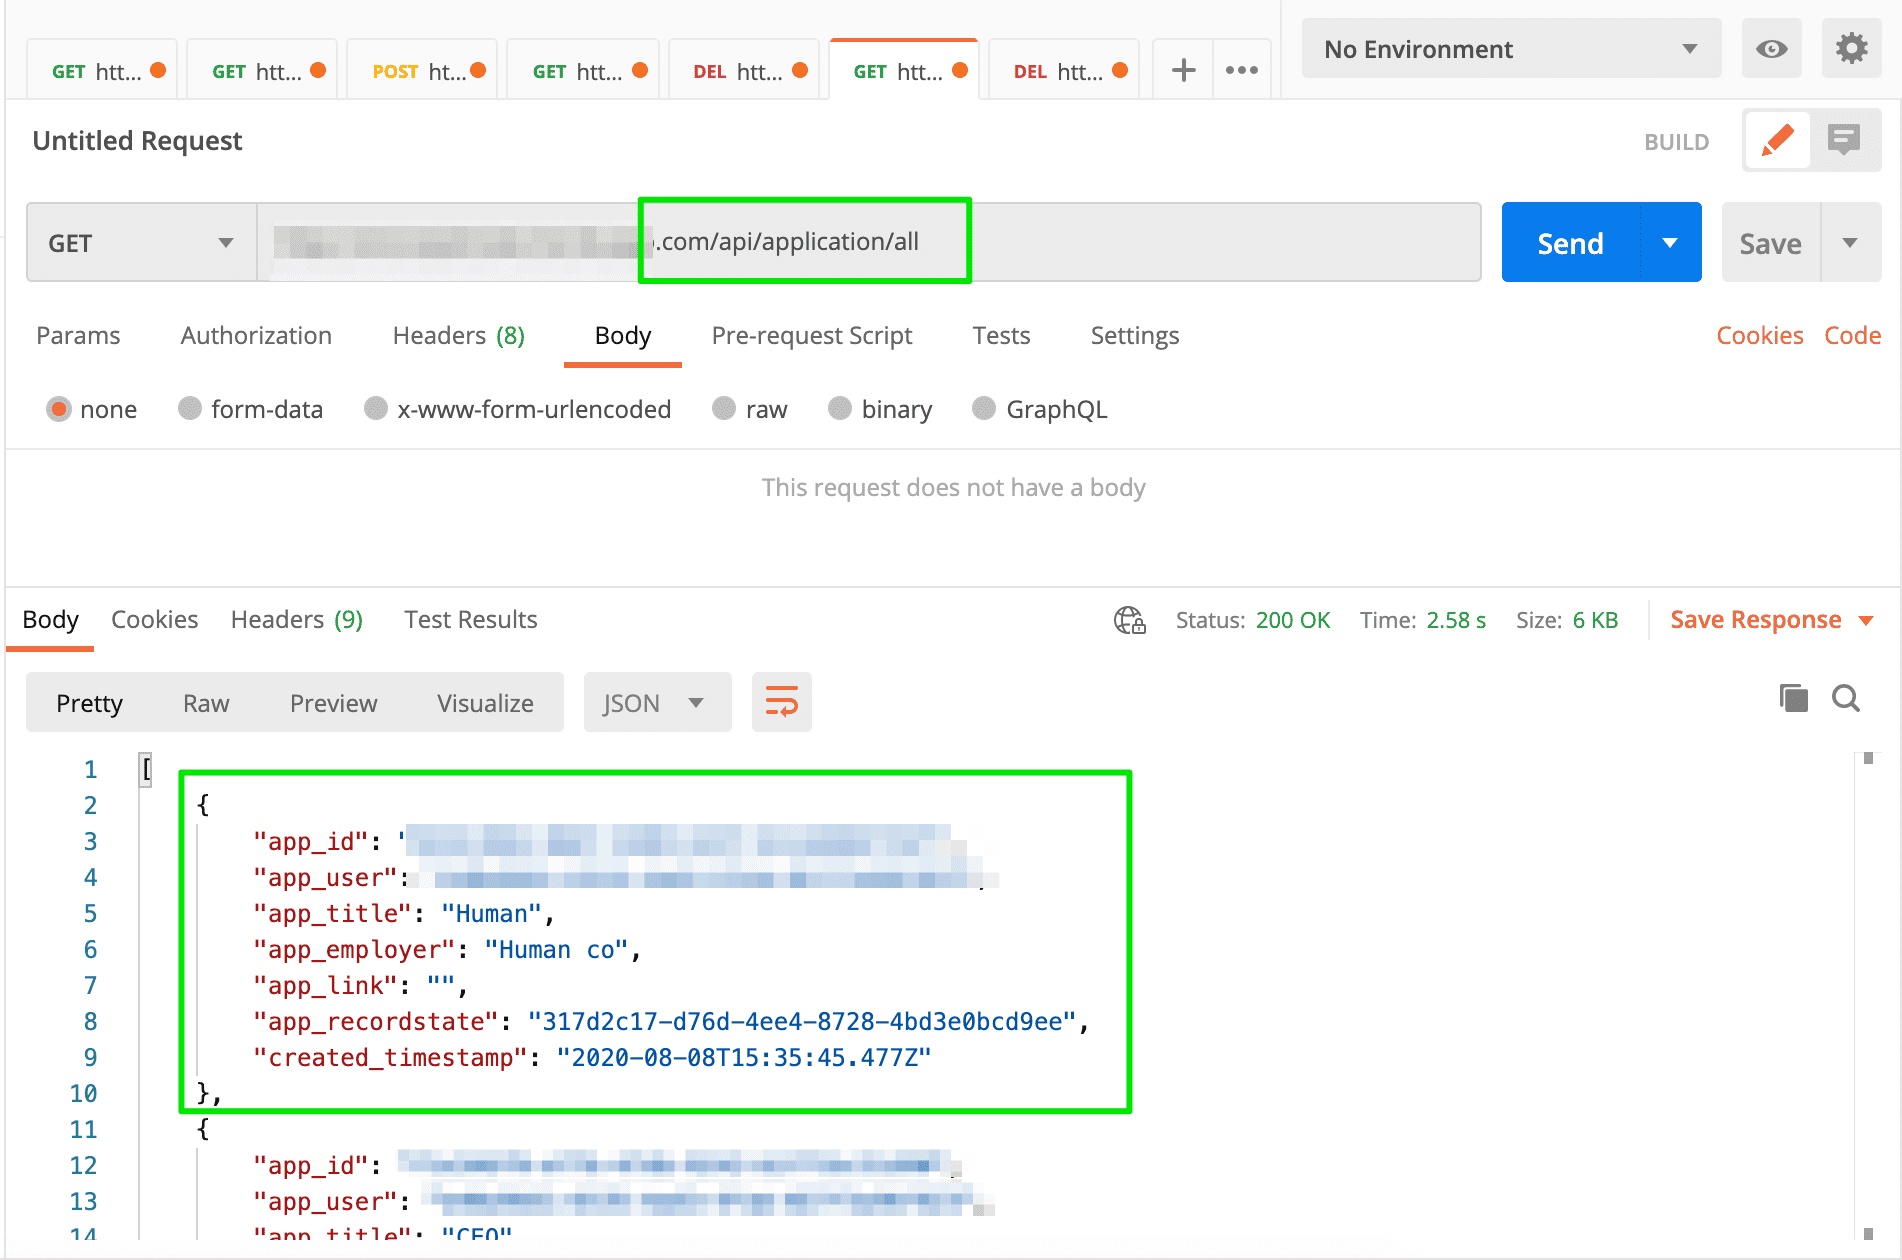
Data call routes are running a check to ensure the user’s JWT is valid. If the JWT is invalid (or not included), a 400 status is returned.
The backend code is public and can be viewed on GitHub here.
Database
My favourite part of any application.
The database is a Postgres instance running on a free-tier managed service (up to 20MB). There was no major rationale behind the DB choice. Postgres is just my default “I need a relational database” solution.
There are four tables currently:

I’m using UUIDs for user and application IDs with the Postgres uuid-ossp extension.
I’m in the process of migrating to an AWS EC2 t2 instance. It probably won’t be much faster but it will be cheaper once I reach the current 20MB data limit.
Hosting
Frontend
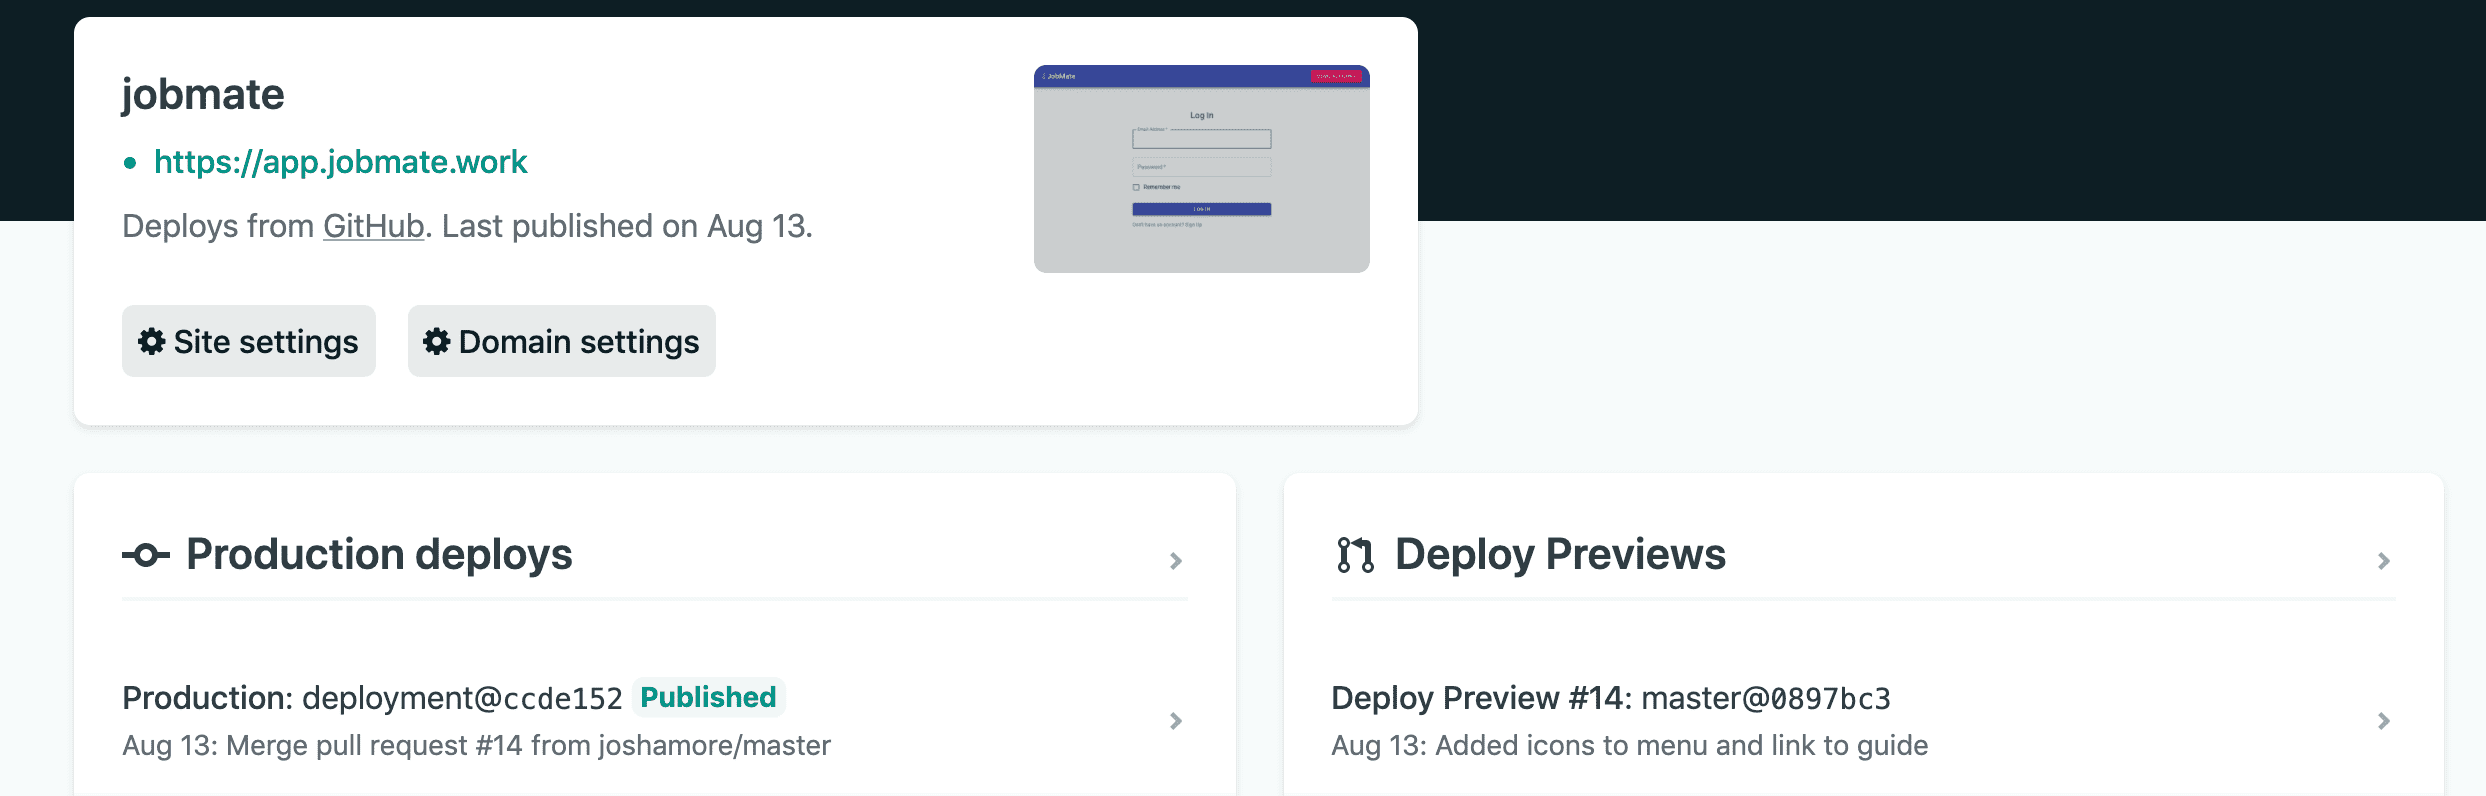
The frontend is hosted with Netlify. It’s automatically being build and deployed based on changes to the GitHub Deployment branch.
Backend

The backend is hosted on Heroku’s free tier. This is deployed from a private repo.
The initial warmup can take up to 30 seconds, which isn’t ideal. But it’s hard to beat the price (free) and the ease of deployment (git push done).
Domain Management
I’m also using Netlify’s DNS server. This makes it easy to renew an SSL cert and to setup subdomains:
- https://app.jobmate.work is the actual application.
- https://jobmate.work is a landing page for the application.
Time taken to get to here?
It took 57.93 hours to get JobMate to its current form. That includes the time spent to create the landing page and write content (such as the guide).
Time was pretty even between frontend vs. backend (with a slight lead from the frontend).
What’s next for JobMate?
There are several features I would like to tweak/create for JobMate:
- An application status system (e.g interview, rejected, offer, etc).
- Reporting (e.g you applied for X jobs over X period)
- UI Cleanup
JobMate is on ice for the moment. It allowed me to successfully land a new job, which will leave me with less time to hack away on toy projects.

Written by Josh Amore who lives and works in Melbourne, Australia. You can contact him here.